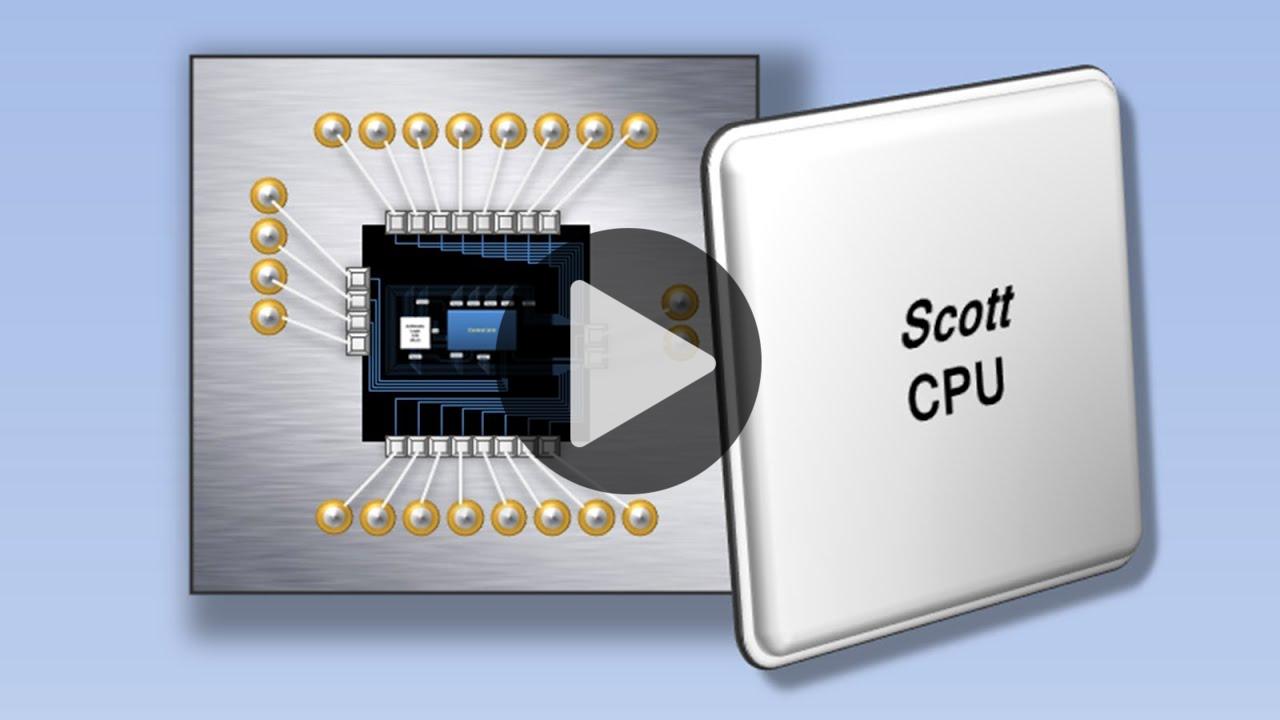
Author’s Website: http://www.buthowdoitknow.com/ See the Book: http://amzn.to/1mOYJvA
See the 6502 CPU Simulation: http://visual6502.org/JSSim/index.html
For anyone annoyed by the breaths between speaking, try this unlisted version with edited audio: https://www.youtube.com/watch?v=IkdBs21HwF4
Download the PowerPoint file used to make the video: https://docs.google.com/file/d/0BzwHNpicSnW0cGVmX0c3SVZzMFk
The CPU design used in the video is copyrighted by John Scott, author of the book But How Do It Know?.
There are a few small differences between the CPU in the video and the one used in the book. Those differences are listed below but they should not detract from your understanding of either.
CONTROL UNIT – This component is called the Control Section in the book. It is called Control Unit here simply because that is a more common name for it that you might see used elsewhere.
LOAD INSTRUCTION – In this video, what’s called a LOAD instruction is actually called a DATA instruction in the book. The Scott CPU uses two different instructions to move data from RAM into the CPU. One loads the very next piece of data (called a DATA instruction in the book) and the other uses another register to tell it which address to pull that data from (called a LOAD instruction in the book). The instruction was renamed in the video for two reasons: 1) It might be confusing to hear that the first type of data we encounter in RAM is itself also called DATA. 2) Since the LOAD instruction from the book is a more complex concept, it was easier to use the DATA instruction in the video to introduce the concept of moving data from RAM to the CPU .
IN and OUT INSTRUCTIONS – In the Scott CPU, there is more involved in moving data between the CPU and external devices than just an IN or an OUT instruction. That process was simplified in the video to make the introduction of the concept easier.
ACCUMULATOR – The register that holds the output of the ALU is called the Accumulator in the book. That is the name typically used for this register, although it was simply called a register in the video.
MEMORY ADDRESS REGISTER – The Memory Address Register is a part of RAM in the book, but it is a part of the CPU in the video. It was placed in the CPU in the video as this is generally where this register resides in real CPUs.
JUMP INSTRUCTIONS – In the book there are two types of unconditional JUMP instructions. One jumps to the address stored at the next address in RAM (this is the one used in the video) and the other jumps to an address that has already been stored in a register. These are called JMP and JMPR instructions in the book respectively.
MISSING COMPONENT – There is an additional component missing from the CPU in the video that is used to add 1 to the number stored in a register. This component is called “bus 1” in the book and it simply overrides the temporary register and sends the number 1 to the ALU as input B instead.
REVERSED COMPONENTS – The Instruction Register and the Instruction Address Register are in opposite positions in the diagrams used in the book. They are reversed in the video because the internal wiring of the control unit will be introduced in a subsequent video and keeping these registers in their original positions made that design process more difficult.
OP CODE WIRING – The wires used by the control unit to tell the ALU what type of operation to perform appear near the bottom of the ALU in the video, but near the top of the ALU in the book. They were reversed for a similar reason as the one listed above. The wiring of the ALU will be introduced in a subsequent video and keeping these wires at the top of the ALU made the design process more difficult. 원문보기
Uploaded By @Vlogger


